Showing posts with label Before and After. Show all posts

Friday, September 25, 2015

Stairs Before & After

When we bought this house, we noticed right away that the railing shook about an inch on either side. This was a safety project that absolutely needed to be done. I wasn't terribly upset about that though. The 80's oak isn't exactly my favorite wood.


You can also get a good view of what used to be a closet at the top of the stairs. We took that out to make our master shower bigger. You can see that post here. Our hall way was lined with doors and I didn't like that, so that was another reason to get rid of that closet. Don't worry, we have tons of closet space.


Mr. C started with taking out the railing to put wood on the stairs. That was a big job! I was able to lay wood everywhere else, but I didn't have the patience to even attempt this! (Not to mention, he didn't trust my patience with it as well.)


Home Depot has banisters, railing and the big posts in pine, oak and metal. We went with the pine because I didn't want the wood grain and I wanted the stain to really show up. After staining and sealing the wood parts, Craig got to work on the spindles. We were so happy to see this go up finally about a year after we moved in. The railing came out the week we got the keys, so the top floor was off limits to the kids.


The most difficult part of this project was getting the angle correct on the banister. The top set of stairs was not built to code and they are not quite as tall as a normal step so the angle on the banister is different then standard. I think Mr. C had to buy a new railing and post because of mess ups. He felt like Alexander and the Terrible, Horrible, Very Bad, No Good Day. From what I remember he woke up, tripped on a hole in his jeans, pealed his toe nail off, cut the railing too short, realized the post was cut too short and a lot in between. I wish I could remember it all because it was quite comical.


Here is the finished stairs. Wood with white risers, no more door at the top of the stairs and new railing. I am so happy with the way it turned out. I love Mr. C's suggestion of the white risers. They do get dirty, but they are not hard to clean or touch up with a little white paint.


By the way, this too is a project that is incomplete. You can barley tell, but at the bottom of the top section of stairs there are 2 spindles missing. Your guess is as good as mine for when it will get finished.


Just some more views. This picture you can see the pattern of spindles we choose.


Now we are safe on our stairs again.

Kristen

Wednesday, September 9, 2015

Exterior Before & After

This one is a lot of pictures! Going through all of them, I didn't realize how much work just the outside was. 

Here is the front of the house before... 


Here it is after, yes, the grass IS dead again. It wasn't though until we stopped watering the front this summer. CA is in such an awful drought that we can only water Tuesdays and Sundays. We decided not to water the front at all because our pool uses a lot of water. We kept with the watering schedule in the back because that is where the kids and dog play. If we are out front, the kids play in the street. 


Here is the back yard before...


All the cracks on the back of the house and the pealing stucco...


Now the patio and back of the house after, the grass looks great because this was before the water rationing.


Yard before...


We ripped out the extremely short 4 foot fence to replace it with a taller one. During the 1 day we were without a fence I left to pick up the kids from school and came home to a car blocking my driveway. Since, I was on a bike, I couldn't block the car in. When I went to investigate, I hear a loud clunk and ran back to the front to find someone fleeing my yard. He was in the process of stealing our saw! At least he dropped it when he heard me looking around. We had been doing so much work that people had been watching and waiting for the perfect opportunity. It was a work truck from the guys that were repaving the streets out front of our house.


More before of the back of the house.


Here is the back now. The grass has been in much better shape. We are just barley keeping it alive. Hopefully we will get lots of rain this year and we can have our grass back. Plus, it's full of dog toys all the time now.


Looking toward the pool before...


After...


These next pictures are just the process. We couldn't decide between blue or green for the exterior. I love both colors but we ended up with green because it is less common.


The blue was pretty too.


Next decision, brown beams like the inside or white? We went with white.


It's always nice when the kids willingly help. They like to paint.


They actually helped a lot on this project. C stopped earlier then L. L loves to paint anything.


We were going to get all new exterior lights until I though, they might turn out nice with a little spray paint.


Painting them saved us a ton and they look great!


More of the back after the stucco is all repaired and most of the paint is on. We had a lot of helpers painting, Craig's parents did huge portions of it and we had one of our good friends spent a weekend painting the back of the stucco.


The front just looks so much cleaner!


After all this, the though of ever moving again is overwhelming. I hope we never have to!


Kristen

Monday, September 7, 2015

Little C's Room

Well, I am sharing another incomplete project. This one needs some decorating. Here was little C's room before we closed escrow over 3 years ago now.


It was a lovely purple with forest green carpet and black trim.


We picked a nice blue for his room that went well with the dark floors. But C always though his room was too dark. He wanted me to pain the whole thing over again. C loves to keep so much stuff out and he fills up his skate board shelves so much that you can't even tell what they are. It's so hard to let him have his own style. I want them to have some freedom in their rooms, but also keep it clean and within some bounds. The shelves and dresser are just something I have to let go of. 


I didn't really want to repaint the whole thing and I had wanted to do some stripes from the beginning.


So, I talked C into letting me add a really, really light blue color for the stripes.


It's always nice to have some help!


This Green Frog Tape is the best! If you use it, just make sure you press it on really well and take it off when the paint is still wet. You can either click on my link or buy it at any home improvement or paint store.


The stripes actually turned out really good! I was very happy, they ended up being straight and level.


Little C doesn't sleep very well in the morning when the sun comes up so I also made him some black out curtains for his room. He picked the fabric. The stripes actually did end up lightening up his room quite a bit. Little C is very happy with them and is willing to keep the blue paint for a while.


Remember, I mentioned the things C likes to keep out, well he apparently likes to hang things from his ceiling fan also.


Here is the final Before and After! What a difference, but the sad thing is, when I showed C these pictures together, he looked for a while and then said, "I like it purple better." and walked away. 


Kristen

Sunday, December 1, 2013

A New Year

As we were getting ready for our annual Thanksgiving trip, I was looking back and realizing where we were last year compared to this year on the house. Last year, just before we left for Thanksgiving we had just put in the flooring in our living room. I thought it would be fitting to show you some before and after. It's amazing to look back at how much we have done to this house and how different it looks!

Here is the living room before we even closed escrow. The grey ceilings, forest green carpet, lovely fireplace wall, pinkish walls… The picture just doesn't do the colors justice.


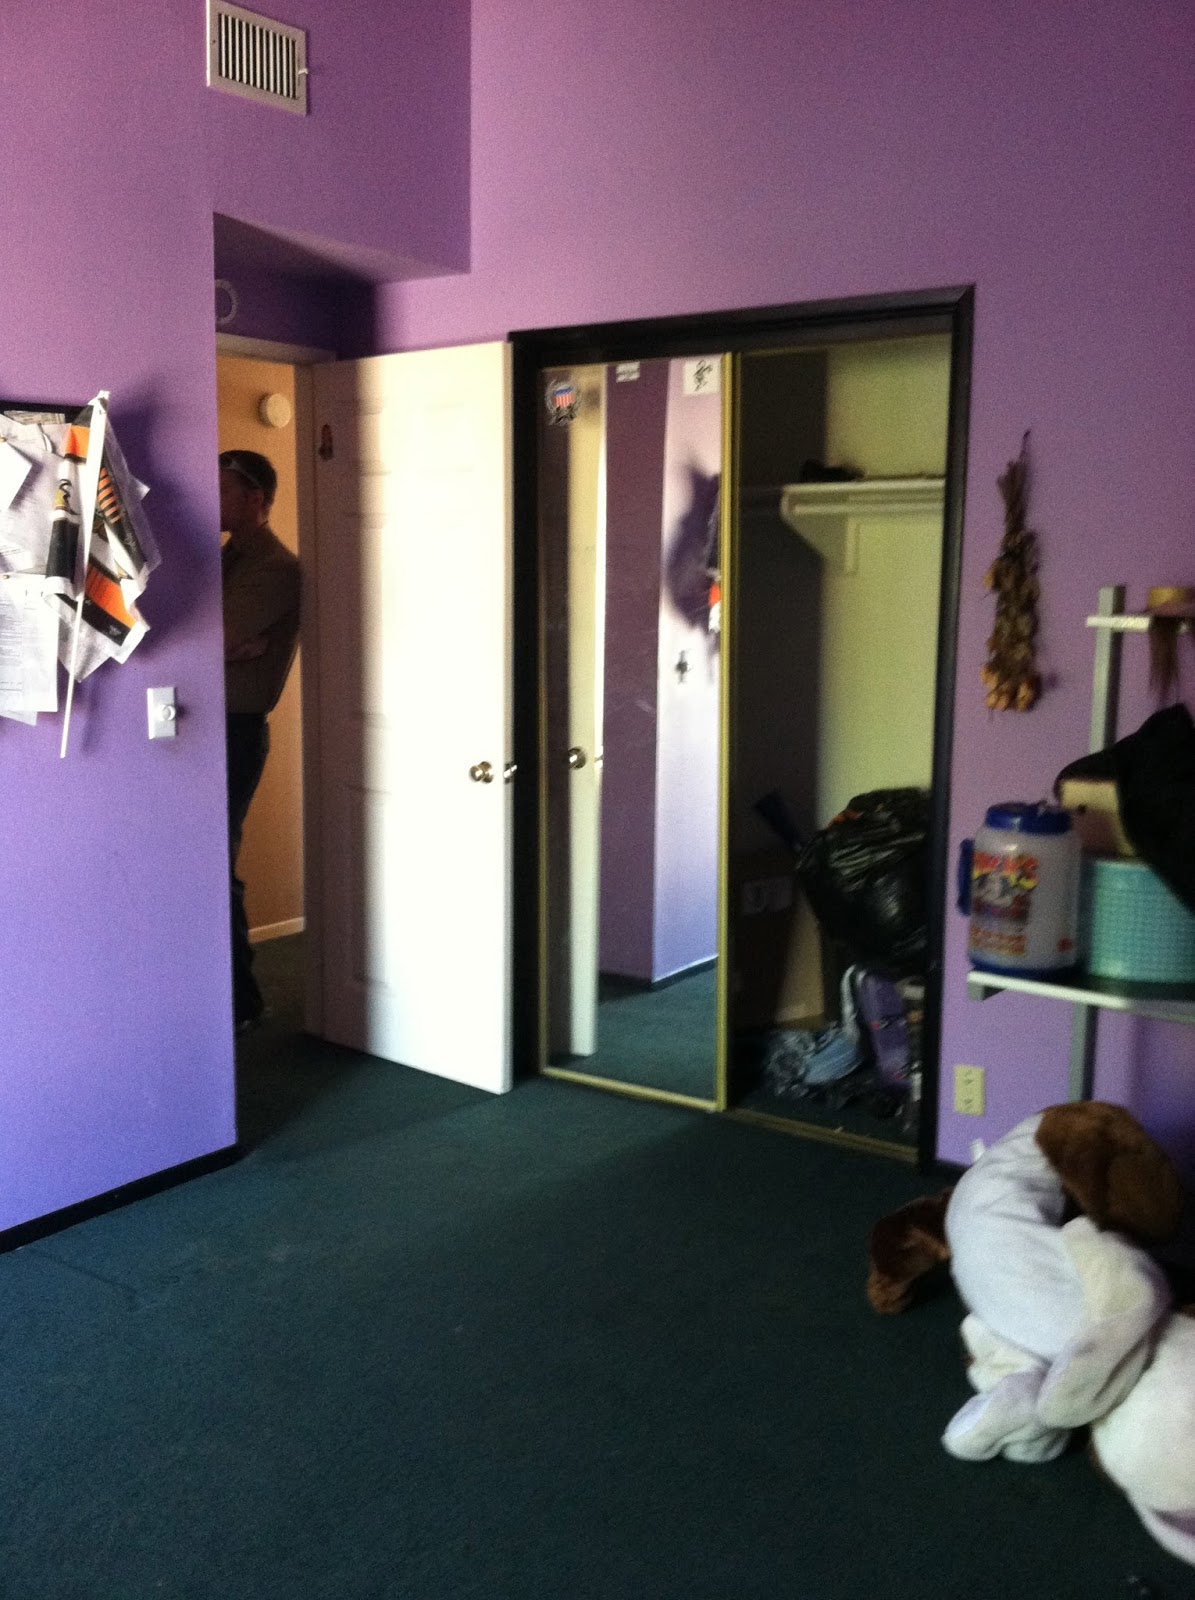
The entry way, straight from the 80's with that light.


Here is a picture I found that does show a bit of the ceiling, we ended up painting it because the wood had a stain on it that didn't really look natural. In the picture it looks grey, it wasn't quite that color. I was really nervous about paint white and didn't want to loose the exposed beam look, so we picked a dark brown for the support beams going all they way across.

We also painted the walls a more neutral color and wanted a accent color on the fireplace weird wall thing to spice it up.


It took me forever to decide what to do with that wall. I was hoping there was rock behind it and I could just remove that lopsided piece of drywall, but there wasn't, so I had to leave it of completely re-do it. With everything else, we were not about to add another huge project, so it stayed.


In go the floor! This was huge! It made such a difference for us. We could finally sit and watch TV at night. We only have or at the time had 1 TV. We went from June to Thanksgiving without the TV. Also, the constant mess in the main room of the house. There was just no relaxing.


Here is the entry way.


Since I am the one behind the camera, you can't actually see how much work I did myself. But the hands are proof. Anyway, Mr. C's dad helped me start the floor in the living room and worked with me till he had to go to work. I was determined to get it done before Mr. C got home from work that evening so I just kept going… for hours… all by myself. I was pretty good at the miter saw and Mr. C (the perfectionist) was pretty comfortable with my skills on it that he had no problem with it. 


Anyway, back to the story. When I got to the last row by the wall, I needed the table saw (something I had not used yet) to cut the boards long ways. So, I went ahead and pulled out the table saw, knowing I've watched it being used enough that I would be just fine. The only problem was, I didn't know how to turn it on. I found a big red + on it with an arrow. I figured that was it, but wasn't sure. So, I called Mr. C at work to ask how to turn it on. He was busy so I asked if his dad was there was available. He was, so I confirmed with him that was how you turn it on. Shortly after, maybe on my second cut a truck come speeding down the street and stops at my drive way. It's was Mr. C's dad rushing over at the instructions to supervise since he was done working for the evening and Mr. C wasn't quite finished. Then another short while later another truck comes speeding down the street and stops at my house. This time it was Mr. C himself. Good thing I didn't cut my finger off. I would have never heard the end of it! But they did arrive in time to finish the last maybe 6 boards and make it look like they did all the work. So, there you have it, it looks like they did all the work.


Now, I can use the table saw when ever I want without a question of my skills.

Incase you wondered where the little ones were while I worked on the floor...


Mr.s C's mom came over for a while, the they found their own ways to entertain themselves. They got quite used to doing that those days.

Here is the entry way, all one uniform floor.


Living room looking toward the entryway.


Again looking to the entry way, but showing part of the kitchen. I love that we were able to make the floors but up to each other at the same height!


That was last Thanksgiving and below, this is this Thanksgiving, hours before we left for our trip. I thought there was a mess on the ground, but that is actually C & L playing.


Notice the updated light?

Before again...


Now...


Last Thanksgiving...


Now...


The before doesn't even look like the same house! If you look closely, you will see some finishing touches that we still need to do, but the progress is very slow these days.

After a long Thanksgiving weekend, I am very tired, but anxious to get this post up. I thought I would have wifi when we were gone, but didn't. So, hopefully there are not too many errors in my writing.

Kristen