Showing posts with label kids. Show all posts

Monday, August 31, 2015

Bible Covers


L has been asking for a real bible for the last month so I finally took her to pick one out. When we were there, they both wanted bible covers, but I didn't want to spend $25 on a cover each. I told them I would make some and they were ok with that. I found a ton of really cute ones on pintrest that were simple and both kids liked. Then we went to JoAnn's and they both decided they wanted zippers and pen holders. No matter how much I told them how cute the other ones were, they were insistent they really wanted to zip up their bibles. So, back to searching for a good tutorial. Sure, I could figure it out, but it wouldn't turn out quite as good as if I followed directions or it might have taken me a few tries. I really didn't want to do that.

I found this tutorial by Tracy's Treasury. It was perfect! It was exactly what I was looking for and almost everything was sewn on a surge. I love using my serger!

After both kids picked out their fabric, I went to work on their covers. Little C wanted his cover to match his bible exactly. I came up with this, not quite exactly, but pretty darn close.


I thought I'd show you how to do the zig zags. It's really quite simple. You just basically cut straight across, then cut slits in at the top. Fold those slits down like the picture...


And iron them...


Here is the other side.


Pin it onto the fabric you want to sew it to and top stitch right along the edge.


Little C was very specific about wanting a pen holder.
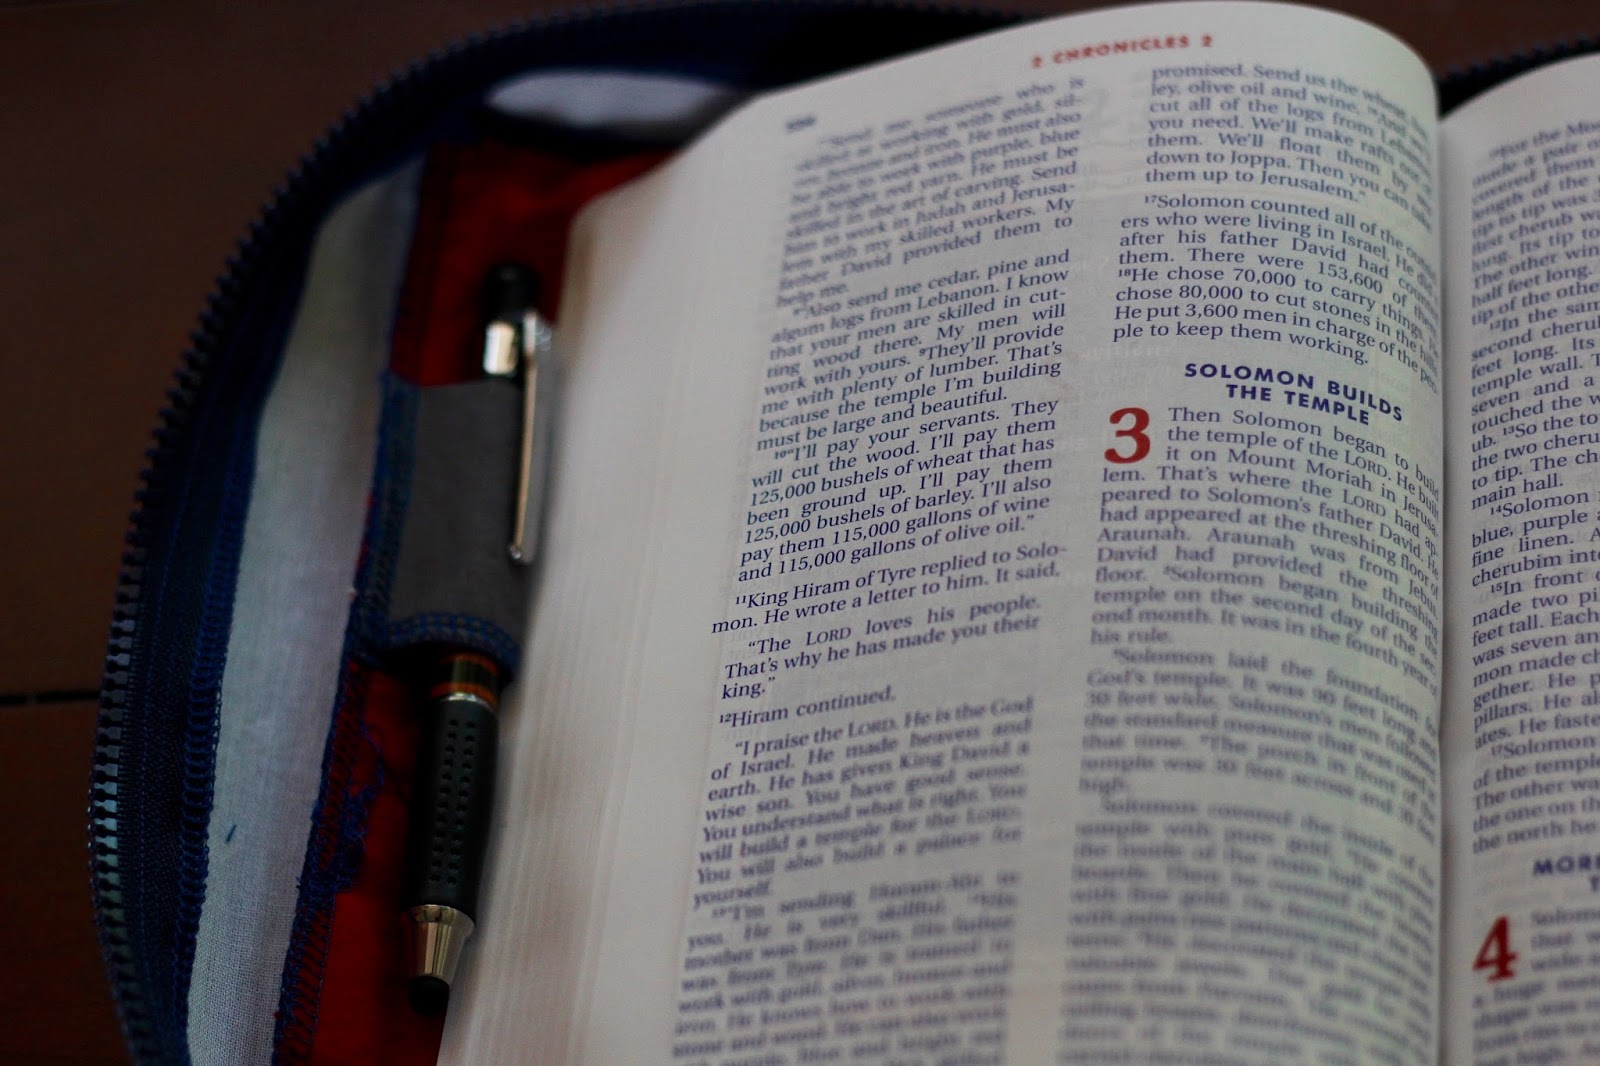

For the zipper, I needed some interfacing to make it a little more sturdy. I didn't want to use anything toxic and I try to stick with 100% cotton fabric so I found this 100% cotton interfacing. I don't know much about the glue and how toxic that is, but at least the fabric is good.


Happy boy, all done!


L wanted a pen holder also. I made it a little big though. 


Since her bible is so tiny, it was harder to sew the zipper on. The back side turned out a little better. The front looks a little crooked on the corner where the zipper is. On both their bibles, I made the outside pockets a bit too small, I think. But, the kids don't think so and that's all that matters.


Now that I got my experience on C & L's bible covers, I needed one for myself.


I was very happy with the way mine turned out. On C's I learned that the zipper needs to be a thin robe zipper. That is much easier to sew through and I didn't break as many needles.


I ran into one little problem, I didn't have enough fabric to make the zipper part wide enough. I really didn't want to go back to the store to buy 5 1/2 inches of fabric, wash it and re-cut it, so I added a bit of the coordinating fabric instead. I actually really like the way it turned out. I wouldn't have wanted the grey next to the white zipper, but that little bit on the edge was perfect. You can look back up at the first picture to see how it looks from the top.

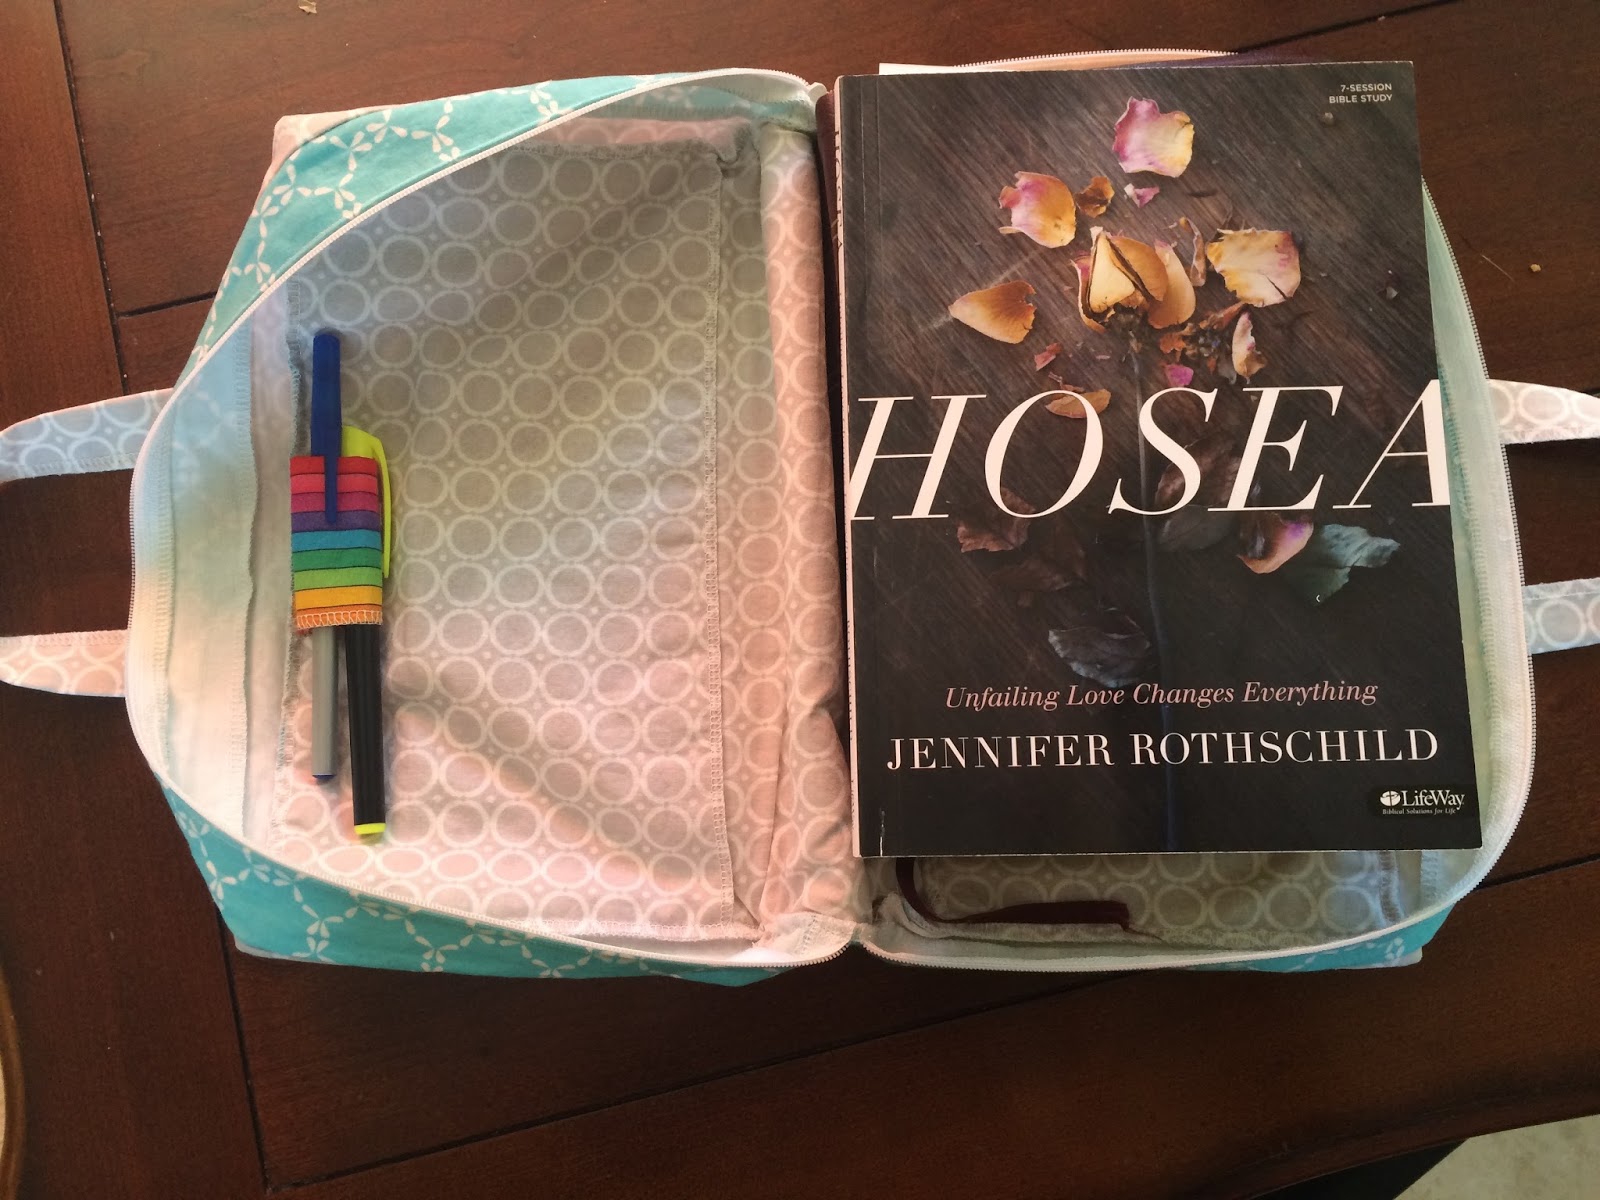
My cover is roomy enough to fit my bible study book and some extra papers.


It's always fun to have a little sewing project!

Kristen

Friday, February 24, 2012

Playing around the trees

This is a regular occurrence around here, C hanging in the trees and L sitting in the leaves.


I just love the colors that reflect on the trees around here as the sun sets.


That's it for the weekend. I've been too busy to sew this week, so I thought I'd share some fun pictures instead.

Wednesday, November 16, 2011

Little Indian Vests from Paper Bags

I got the wonderful job of cutting Indian Vests out of paper bags for C's kindergarten class. Yes, I am being sarcastic. Anyway, how hard could it be, right? Well, they were supposed to look like this...


And this is what I did...


So, I searched and searched and I couldn't find any picture tutorials. Finally, I folded the regular vest back up like a bag and I saw how simple it was. Now I can make it very easy for anyone else that wants to do the same.

First you need a brown grocery bag.


Next, open it up and cut that little "V" at the bottom of the bag.


Now, flatten the bag and cut straight up the middle. I cut my line on the back of the bag. That way the printed side will end up on the inside back of the vest.


Fold the bag in half and cut out a 1/2 circle for the neck. Also, cut the bottom off to make your vest the desired length.


Unfold the bag and flip it inside out. You now have your vest.

You can crumple it to give it that leathered look and you can add fringe to your bag.


Our kindergardeners are going to do that part themselves.

Well, there you have it, 22 vests cut and ready. I'm so glad it's done.


Kristen

Saturday, October 1, 2011

Silly Little Shirt

This week at school it's Childhood Obesity Prevention Week and each day the kids are supposed to wear a specific color. They are also asked to bring a fruit or veggie in that same color. Wednesday was purple and C doesn't own a single purple shirt. He has a Laker beanie, but it was too hot for that. So, C wanted me to sew some purple on a shirt he already had. Of course not so creative me said, "I can do that, but what do you want me to sew on it?"

C came up with this...


A cross on the front and a picture of him on the back.


I new I could do that if I used the first little image of himself that he drew.

It's kind of corny, but it has meaning. So, I like it.

Kristen

Thursday, September 29, 2011

More Dresses

Remember the Threads of Love project? Well, it's been a couple weeks since I have had a chance to sew for it, so I decided every other thing I sew will be for Threads of Love. This week, I got 3 more dresses done.


It turns out strapless is working best for the kids in the Orphanage in Haiti. So strapless it is. :-) Since I got all the kids measurements, it's fun to pick a name and sew for that child. These dresses are going to Thamara, Charlinda and Rachel. I think they are 10, 7 and 4.

I just love this lettuce hem. I haven't quite got it down on my serger, so I am still using my regular machine for that, but it works great. On this one I did the blue thread on the top and pink in the bobbin. I like the way it turned out with the colors in the dress.

Wednesday, July 13, 2011

Kid Crafting

Ok, does anybody else's house ever look like this?


That's just a quarter of the living room. There is tons of fabric on the part not in the picture too. It's a little preview to my project that should be done tomorrow. :-) I'm very excited. Anyway, while I had that mess, C, L and I made this mess...


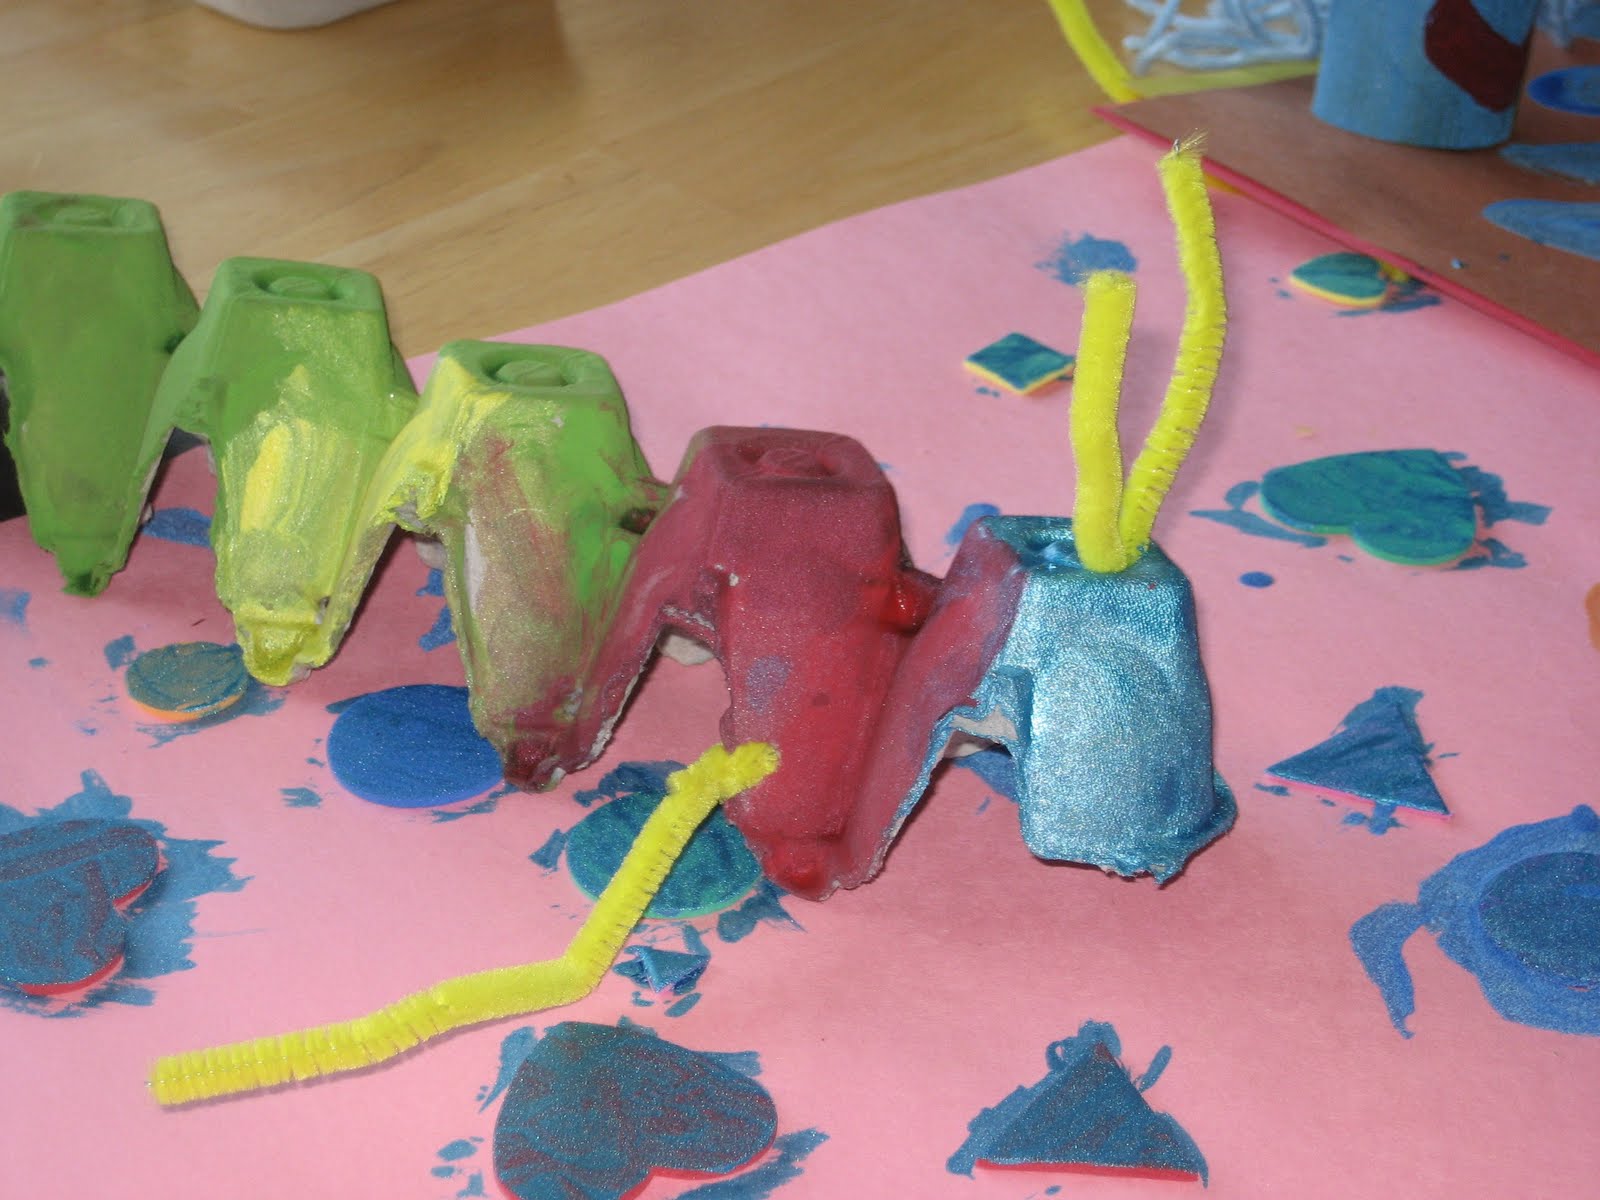
We decided to paint old egg cartons and toilet paper rolls.


They were very serious while working.


I couldn't even get them to talk.


When our critters dried we added pipe cleaners. C LOVES pipe cleaners. It's his favorite craft item.


Here are a couple of C's finished projects.


That little blue guy that you can hardly see, C & L spent almost an hour playing with it while I was making dinner. That was nice. They were using their little high voices to make it talk.


Now, back to sewing!

Kristen

Thursday, July 7, 2011

Hair Cut

L got ahold of the scissors! Her hair doesn't grow, she hasn't even had a first hair cut yet and she butchered the front of her hair.


So, I cut about an inch and a half off the bottom to make it somewhat match the front.


As it grows, I'll keep cutting till it evens out. I couldn't even layer it to make it work. She cut the front shorter then bangs.


Oh, I almost forgot. We are taking family pictures Saturday! We have only taken family pictures once before, when L was an infant. I guess she will have a barrette in her hair.

Kristen