Showing posts with label sewing. Show all posts

Saturday, January 16, 2016

Cozy Cave

Remember this picture of Dixie? This was her favorite bed. We always wanted a smaller one because it took up so much room and it was a lot to lug around when we were camping. Even though a cozy cave is a perfect Vizsla pet bed, these cozy cave beds are not cheap, I just couldn't justify the cost of another.


I always thought it looked easy enough to make and now that we are getting another puppy, it's the perfect time to make a smaller one. Yep, I said we are getting a puppy. She arrives Tuesday night. One of the hardest parts about getting a pet is loving them so much knowing you are going to loose them one day. But a good friend reminded me that "It is better to have loved and lost then to have never loved at all" and in the words of our kids, "We want Dixie back, but a new puppy is the next best thing."

So, I went to JoAnn's and got some fabric and started cutting. Making the bed helped to relax my mind a little and prepare for the new puppy. I couldn't give her everything that was Dixie's just yet.


I love circles, they are so easy to cut and sew! I cut 2 circles and the side for the inside cushion.


I added a zipper so I can change out the batting if it gets old and yucky or I need less or more of it. I just used a robe zipper for this part.


To sew the edges, it was very simple, just sewed right sides together around the circle and since I had a zipper I left it on zipped so I could flip it right side out.


Here is the top cover part. Since I couldn't get Sherpa fabric as thick as the real cozy cave, I added some quilt batting in-between the top layer and the Sherpa.


For the top of the bottom half I used the sherpa again just like the original Cozy Cave.


I got the filling from Amazon because it was about 1/3 the cost. This is the one I bought. If you click on the link, you will see it is a 10 lb box. I didn't realize how much 10 lbs of PolyFill was. When I opened it, it popped out the top and after I filled the bed, I still had to stuff it back into the box. I barley made a dent. I guess I should get to making another Cozy Cave for a friends little dog.


The kids wanted to make sure they fit in the little one also.


Now they can snuggle with their new puppy.


Hopefully, next week I can share a picture of our new puppy inside the bed.

Kristen

Monday, August 31, 2015

Bible Covers


L has been asking for a real bible for the last month so I finally took her to pick one out. When we were there, they both wanted bible covers, but I didn't want to spend $25 on a cover each. I told them I would make some and they were ok with that. I found a ton of really cute ones on pintrest that were simple and both kids liked. Then we went to JoAnn's and they both decided they wanted zippers and pen holders. No matter how much I told them how cute the other ones were, they were insistent they really wanted to zip up their bibles. So, back to searching for a good tutorial. Sure, I could figure it out, but it wouldn't turn out quite as good as if I followed directions or it might have taken me a few tries. I really didn't want to do that.

I found this tutorial by Tracy's Treasury. It was perfect! It was exactly what I was looking for and almost everything was sewn on a surge. I love using my serger!

After both kids picked out their fabric, I went to work on their covers. Little C wanted his cover to match his bible exactly. I came up with this, not quite exactly, but pretty darn close.


I thought I'd show you how to do the zig zags. It's really quite simple. You just basically cut straight across, then cut slits in at the top. Fold those slits down like the picture...


And iron them...


Here is the other side.


Pin it onto the fabric you want to sew it to and top stitch right along the edge.


Little C was very specific about wanting a pen holder.


For the zipper, I needed some interfacing to make it a little more sturdy. I didn't want to use anything toxic and I try to stick with 100% cotton fabric so I found this 100% cotton interfacing. I don't know much about the glue and how toxic that is, but at least the fabric is good.


Happy boy, all done!


L wanted a pen holder also. I made it a little big though. 


Since her bible is so tiny, it was harder to sew the zipper on. The back side turned out a little better. The front looks a little crooked on the corner where the zipper is. On both their bibles, I made the outside pockets a bit too small, I think. But, the kids don't think so and that's all that matters.


Now that I got my experience on C & L's bible covers, I needed one for myself.


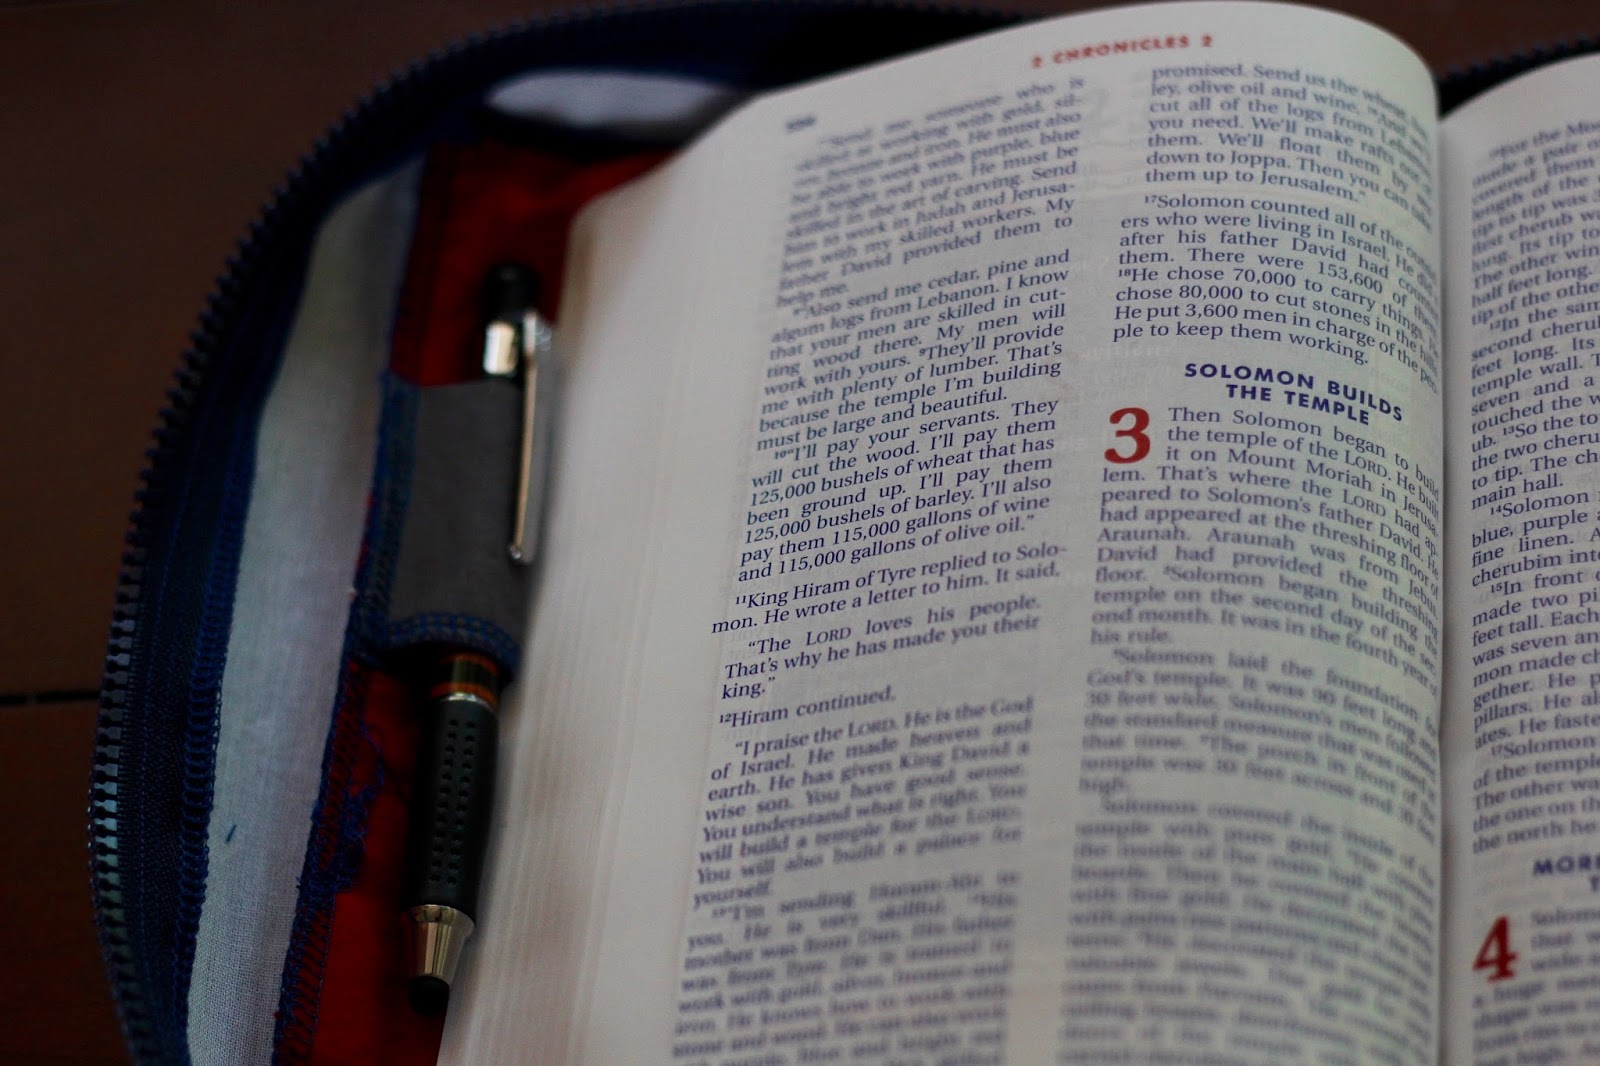
I was very happy with the way mine turned out. On C's I learned that the zipper needs to be a thin robe zipper. That is much easier to sew through and I didn't break as many needles.


I ran into one little problem, I didn't have enough fabric to make the zipper part wide enough. I really didn't want to go back to the store to buy 5 1/2 inches of fabric, wash it and re-cut it, so I added a bit of the coordinating fabric instead. I actually really like the way it turned out. I wouldn't have wanted the grey next to the white zipper, but that little bit on the edge was perfect. You can look back up at the first picture to see how it looks from the top.

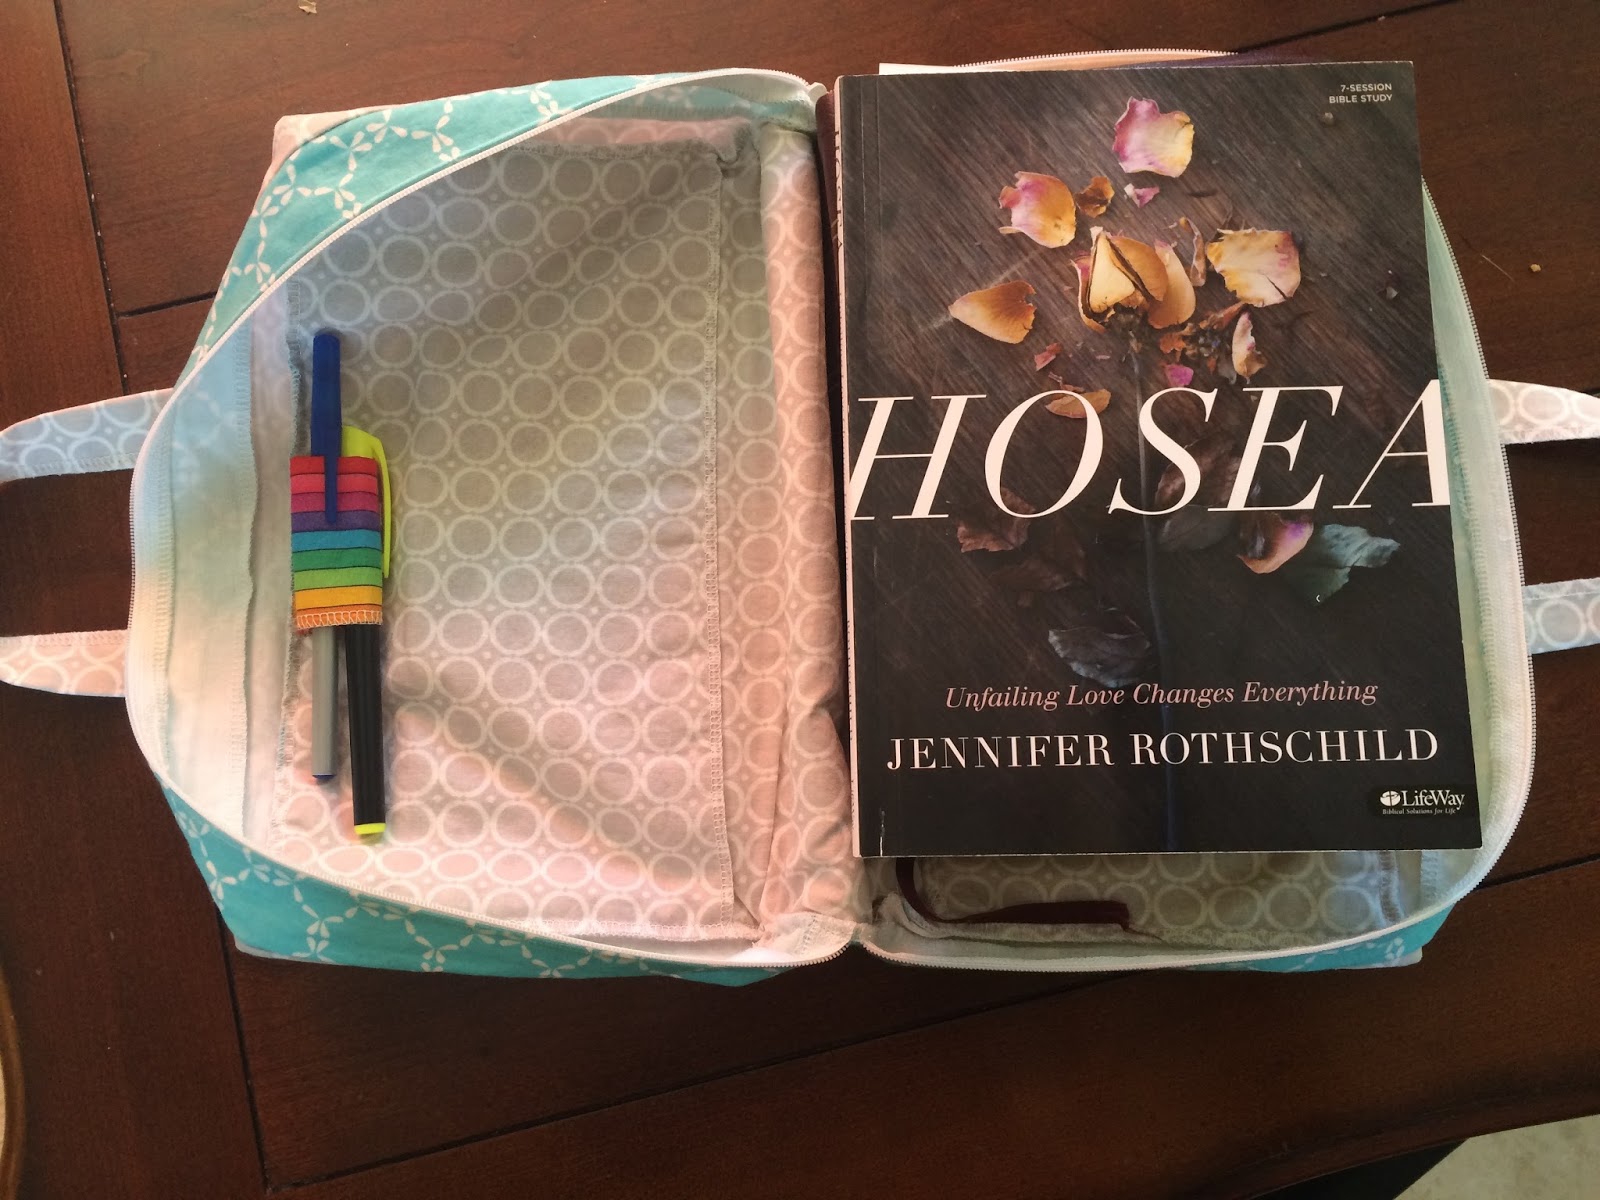
My cover is roomy enough to fit my bible study book and some extra papers.


It's always fun to have a little sewing project!

Kristen

Friday, May 18, 2012

Quick Birthday Bag

It was crunch time! I had no time to sew lately and about 15 minutes before we had to leave to a birthday party. I still needed a bag for the present. We got the little girl school supplies, a wipe dry erase board, dry erase markers, pens, pads, paper, markers, crayons, etc. I wanted a little carrier for all of it.

I decided to go ahead and see what I had and this is what I came up with.


I had these two fabrics so I thought I would make a reversible bag.


Remember I said we had 15 minutes, can you tell in the picture? That's me going, "Wait, stop! Let me take a picture."


"Wait, don't go, let me see the bag. Wait! Don't move" (snap) "K, let's go!"


I know terrible pictures, but it's the only ones I have.

Sunday, February 26, 2012

100 Days of Kindergarten

100 days of school is a BIG deal in kindergarten. The kids count many thing of 100 in many different way. It's a big celebration. This year in preparation for 100 days C's teacher assigned the kids all to gather 100 of something of their choice. C choose 100 of his favorite fabrics sewn together into a very soft blanket.


C loves different textures, especially soft. His favorite things to wear are his "soft pants" if it is cold out and all his shirts have to be very soft. So, as you can see, his fabric is all very soft.


C cut all the pieces himself, put them in the order he wanted and sewed them together. I helped guide them because he was using the surger and I was a little nervous to let him do that completely himself.


After he shared his blanket with his class, C got to bring it home and snuggles with it every night now.


Sunday, February 19, 2012

Pillows - Tutorial

It took me a couple times to figure out how to do a pillow with a the right way. Well, I think it's the right way. I'm sure there is some tutorial out there that I haven't found, but since I figured it out, I have decided to do my own tutorial.

The trick was to sew the zipper on first. That helped a ton!

You will need:
1 uncovered pillow
fabric
zipper the length of your pillow

So, cut your fabric to size and pin the right side of the zipper to one of the right side of one piece of fabric.


Sew the zipper to the fabric along the edge. It is helpful to use a zipper foot, but I was sewing at a friend's house and she didn't have a zipper foot. It worked out fine because the zipper was thin.


After you sew the zipper to one piece of fabric, pin the other 1/2 of the zipper to the right side of the other piece of fabric.

Next, open up the fabric so the right sides are showing and fold the fabric so it hides the zipper like the picture below.


Iron it.


Now, pin and sew along the edge of the zipper.


Now you are ready to sew the pillow. Unzip the zipper a bit and sew the pillow right sides together.


Clip the corners and flip it right side out.


Nice pretty pillow all done!

Tuesday, February 14, 2012

Strawberry Shortcake Birthday

L turned 4 and loves Strawberry Shortcake. We decided to go crazy with Strawberry Shortcake for the party.

First, I got a little Strawberry Shortcake dress and I needed leggings to go with it. It was so hard finding the perfect stripes, but this is the fabric I got at M & L.


I used the little green striped for the pants, it looked better then the big stripe and the medium was not in a knit. The medium was what I wanted, but I was very limited on what I could do.


I think it turned out pretty cute even if it wasn't the exact stripes that the "Real" Strawberry Shortcake wears.

Then with the pink polk-a-dot and green medium stripe, we made purses for the girls. C and L now have their own fabric scissors so they can help whenever they want.


The purses were a little small, but turned out pretty cute. They were so simple to make too. That's the best part. It only took me a couple hours to make 7 purses.


We got some Strawberry hand sanitizer for the purses and...


the girls got to pick out some flowers we made for their hair.


For the party we painted nails and did hair. Here is L modeling a couple of the sample hair styles.


I still have way too many flower barrettes now.


Stay tuned for more on the actual party.