
L has been asking for a real bible for the last month so I finally took her to pick one out. When we were there, they both wanted bible covers, but I didn't want to spend $25 on a cover each. I told them I would make some and they were ok with that. I found a ton of really cute ones on pintrest that were simple and both kids liked. Then we went to JoAnn's and they both decided they wanted zippers and pen holders. No matter how much I told them how cute the other ones were, they were insistent they really wanted to zip up their bibles. So, back to searching for a good tutorial. Sure, I could figure it out, but it wouldn't turn out quite as good as if I followed directions or it might have taken me a few tries. I really didn't want to do that.
I found this tutorial by Tracy's Treasury. It was perfect! It was exactly what I was looking for and almost everything was sewn on a surge. I love using my serger!
After both kids picked out their fabric, I went to work on their covers. Little C wanted his cover to match his bible exactly. I came up with this, not quite exactly, but pretty darn close.

I thought I'd show you how to do the zig zags. It's really quite simple. You just basically cut straight across, then cut slits in at the top. Fold those slits down like the picture...

And iron them...

Here is the other side.

Pin it onto the fabric you want to sew it to and top stitch right along the edge.

Little C was very specific about wanting a pen holder.
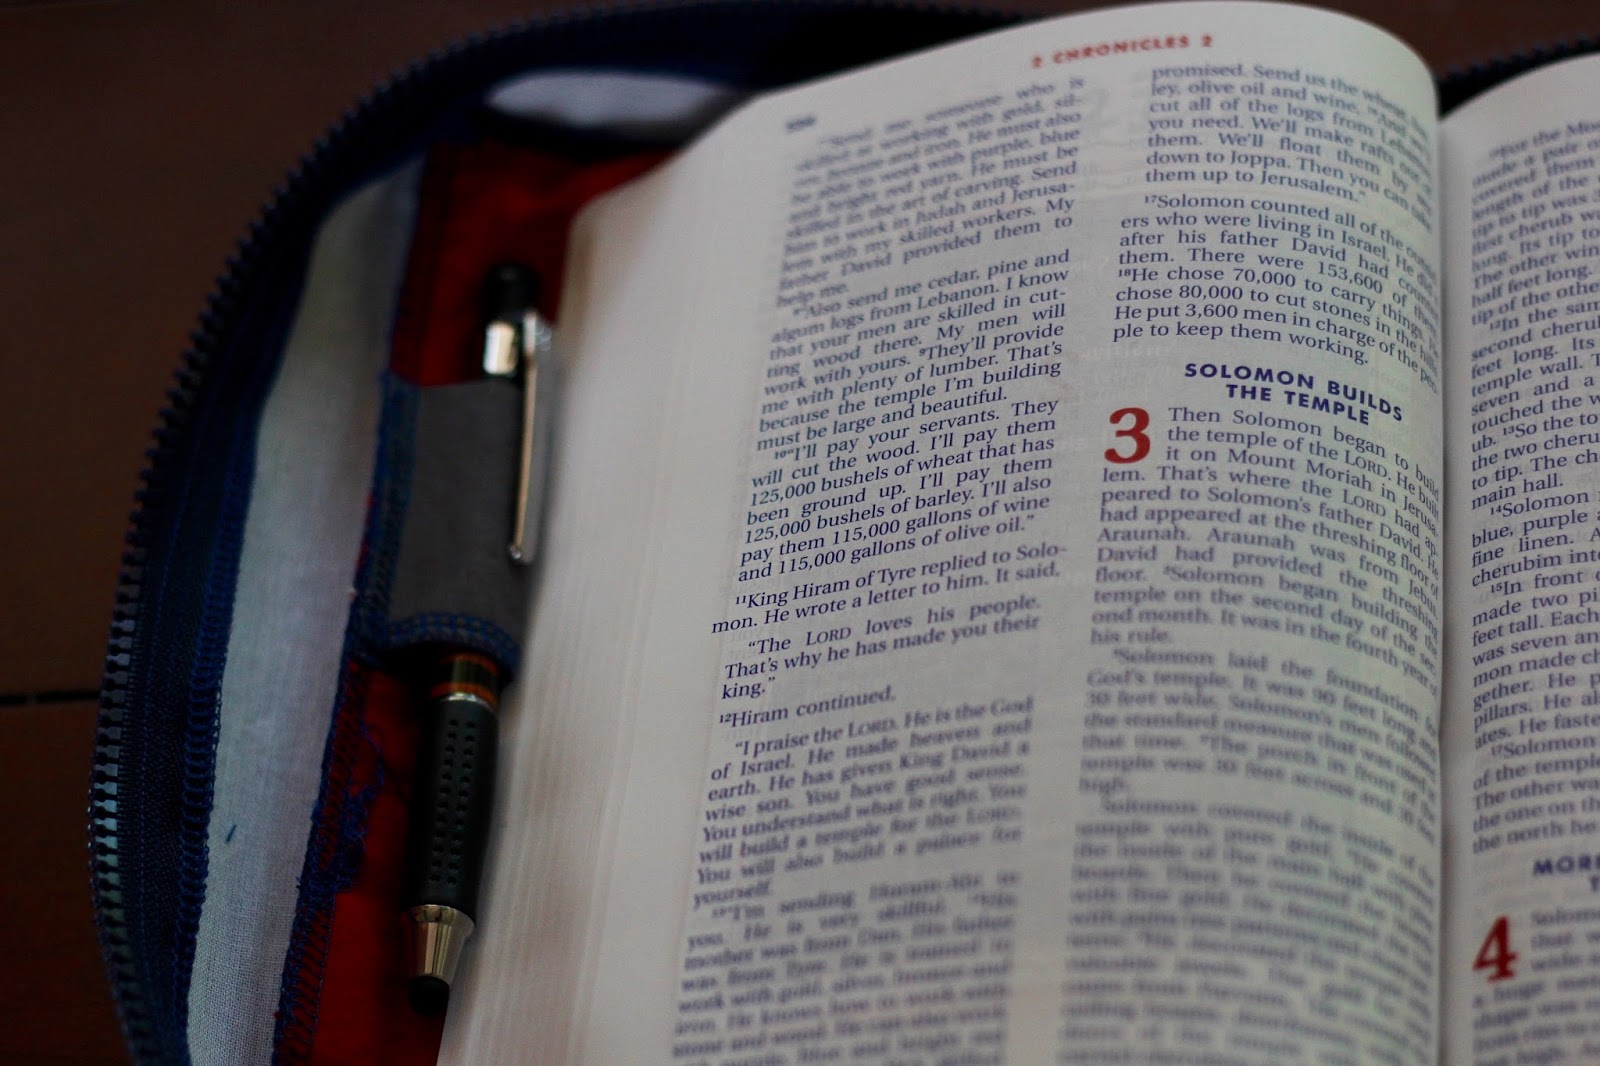
For the zipper, I needed some interfacing to make it a little more sturdy. I didn't want to use anything toxic and I try to stick with 100% cotton fabric so I found this 100% cotton interfacing. I don't know much about the glue and how toxic that is, but at least the fabric is good.

Happy boy, all done!

L wanted a pen holder also. I made it a little big though.

Since her bible is so tiny, it was harder to sew the zipper on. The back side turned out a little better. The front looks a little crooked on the corner where the zipper is. On both their bibles, I made the outside pockets a bit too small, I think. But, the kids don't think so and that's all that matters.

Now that I got my experience on C & L's bible covers, I needed one for myself.

I was very happy with the way mine turned out. On C's I learned that the zipper needs to be a thin robe zipper. That is much easier to sew through and I didn't break as many needles.

I ran into one little problem, I didn't have enough fabric to make the zipper part wide enough. I really didn't want to go back to the store to buy 5 1/2 inches of fabric, wash it and re-cut it, so I added a bit of the coordinating fabric instead. I actually really like the way it turned out. I wouldn't have wanted the grey next to the white zipper, but that little bit on the edge was perfect. You can look back up at the first picture to see how it looks from the top.
My cover is roomy enough to fit my bible study book and some extra papers.
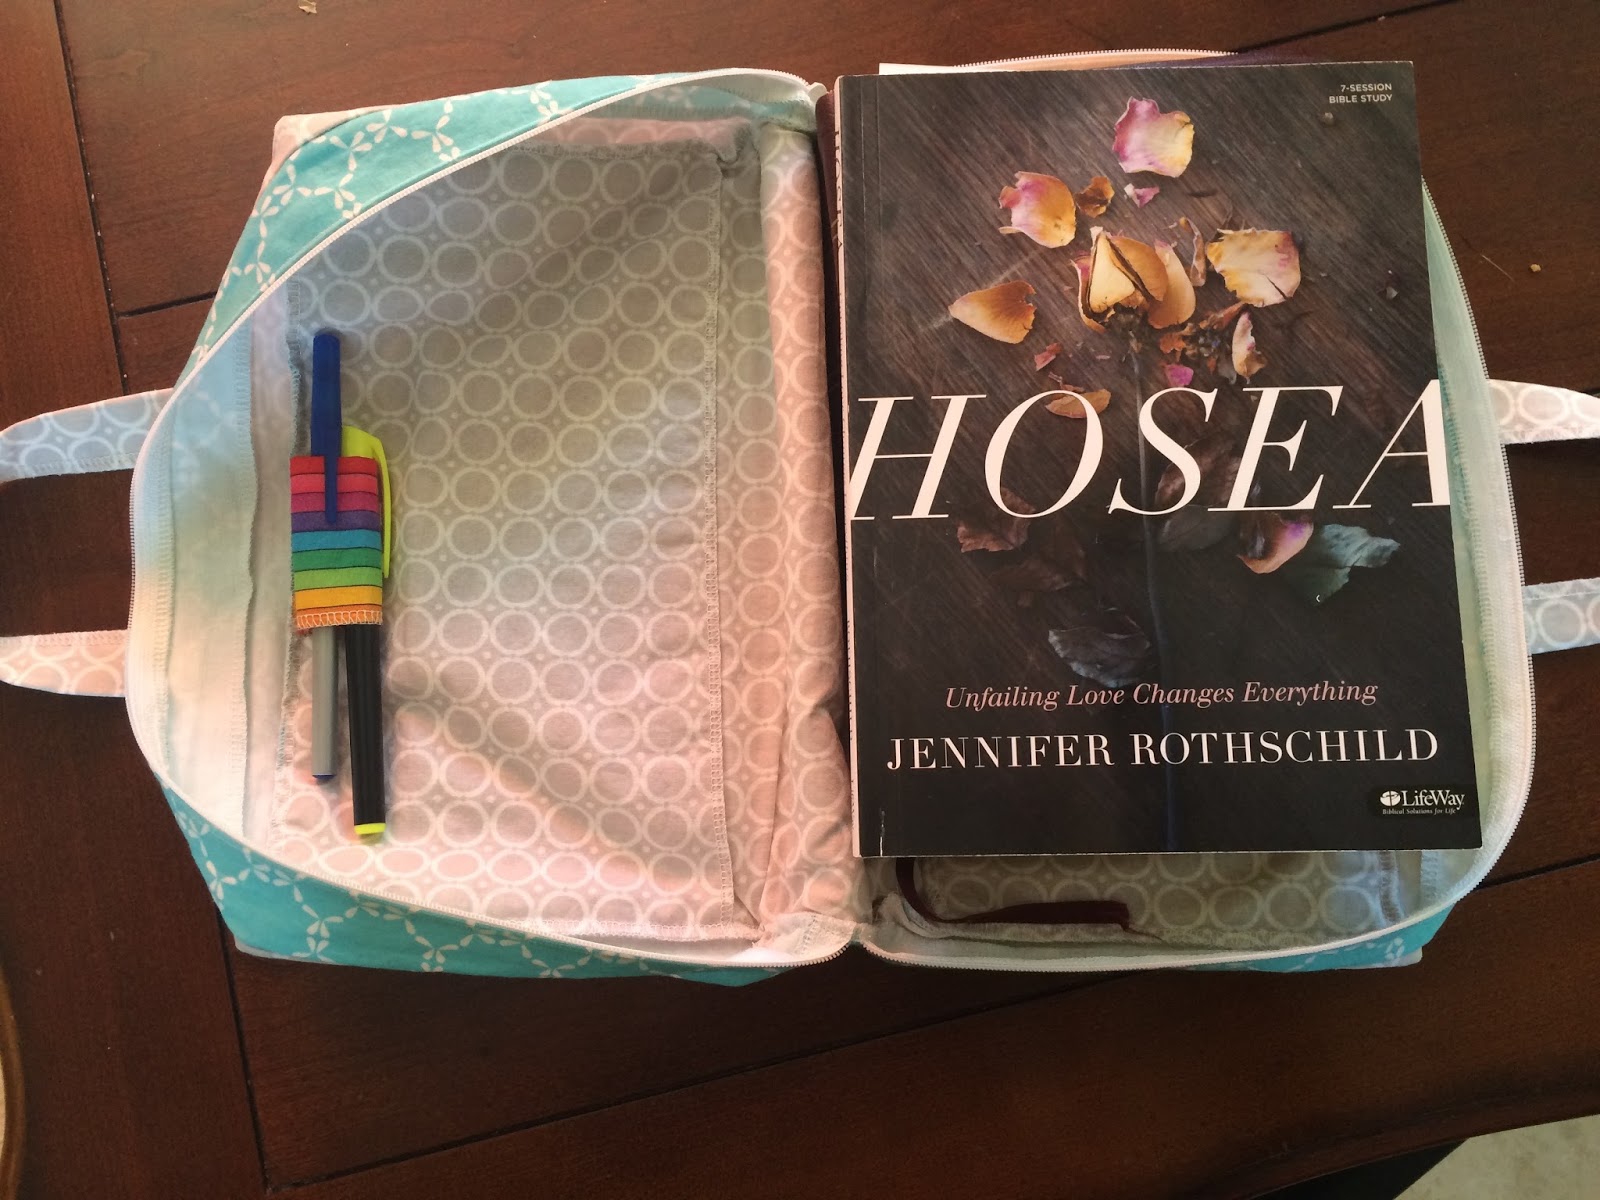
It's always fun to have a little sewing project!
Kristen


