I love making L skirts because they are the easiest thing in the world. So, I decided to use the kind I make and do a tutorial. Only thing is, I changed it up a bit for the dance skirt and it made it a little more difficult. Not to worry though, still totally easy.

You will need:
1. Measuring tape
2. Old Newspaper
3. Pen and marker
4. Tiny elastic
5. Fabric with coordinating thread
6. Scissors
First, make your pattern, measure the waist of the person the skirt is for and the length you want the skirt. For the dance skirt, add about 3 inches and divide that total number in half. So, if your daughter's waist is 23 inches add 3, that's 26. Divide that in half and you get 13. That will be the width of your pattern. The length is just what you want the length of your skirt adding an allowance of 1/2 an inch. Draw it, cut it out and you will have a rectangle.

Now, draw vertical lines on the paper evenly spaced. I did 4, this number is not exact. Now, cut along those lines almost to the top. Making sure not to cut all the way through the paper. This is to spread out the rectangle evenly to make the skirt twirly and flowy.
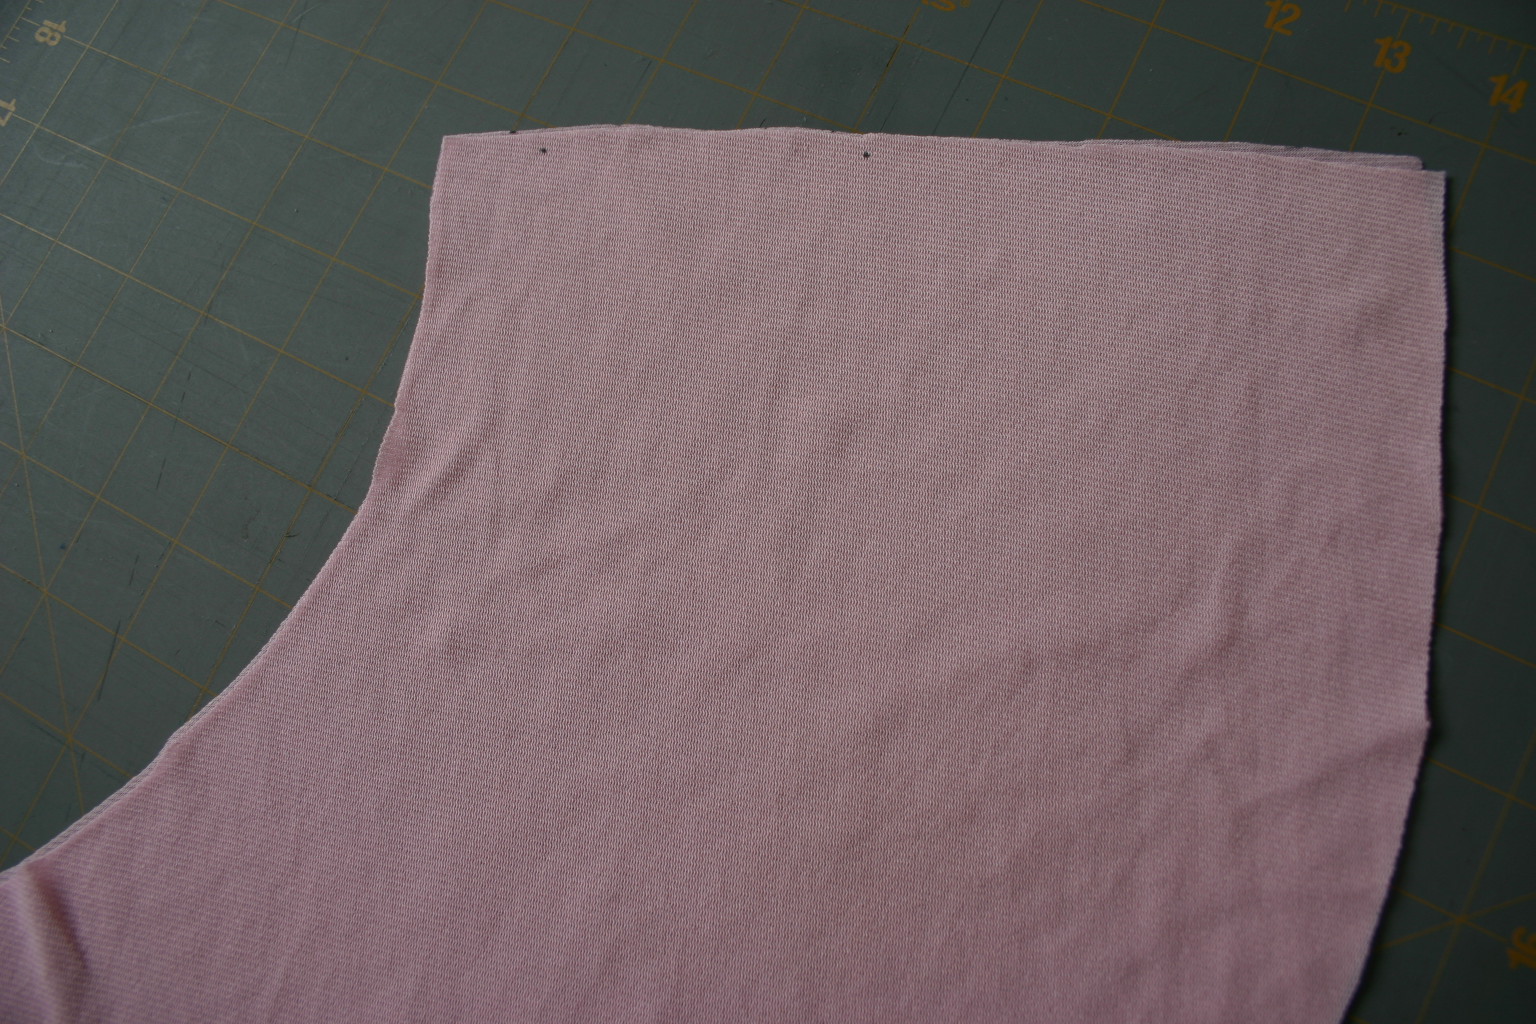
Now transfer to the fabric, 1. Fold your fabric, put one edge of the paper on the fold and spread out the slashes. After that, take your permeant marker and draw where I would cut.

Now cut.

Sew the side seam together, right sides together.
Now, you will make the bottom part. I think this might be a lettuce hem. Anyway, set your machine to a zig zag, please don't notice all the dust on my machine.

Also, a very tight stitch.

Fold the fabric under just a bit and zig zag right on that folded edge.

I went around two times on mine because I like the way it looked better after the second time.

Almost done. On the top you are going to make a casing. Fold the top under about 1/4 an inch and zig zag all the way around leaving an opening that you can slide the elastic in. Hook a safety pin to one end of the elastic and feed it through the casing. When you get to the edge sew the two ends together and close your opening. Tiny elastic is very difficult to work with in the sewing machine, but I like it for the dance skirt.

There is your dance skirt. The model wasn't too into modeling today.
The skirt made a cute little gift that went inside that little sack behind it.

Happy sewing!
I'm linking with:


wow! That turned out great! I didn't realize you could do that hem without a serger! I found your button on the sidebar of another blog and now I am your newest follower! Stop by and visit if you get the chance!
ReplyDeleteLove all of your pattern tutorials. Thanks for sharing them with us.
ReplyDeleteYour method of explaining everything in this piece of writing
ReplyDeleteis really nice, all be able to effortlessly understand it, Thanks a lot.
Here is my web site ... page